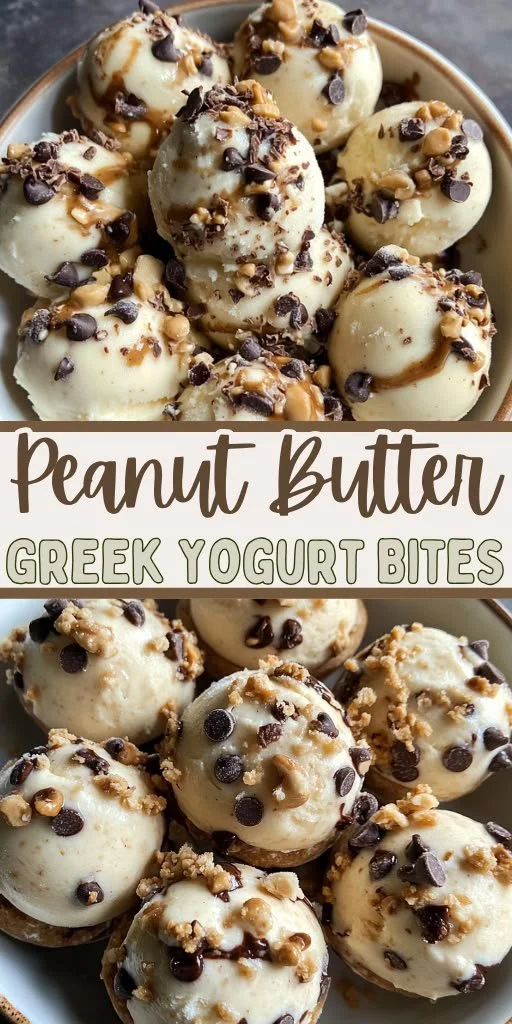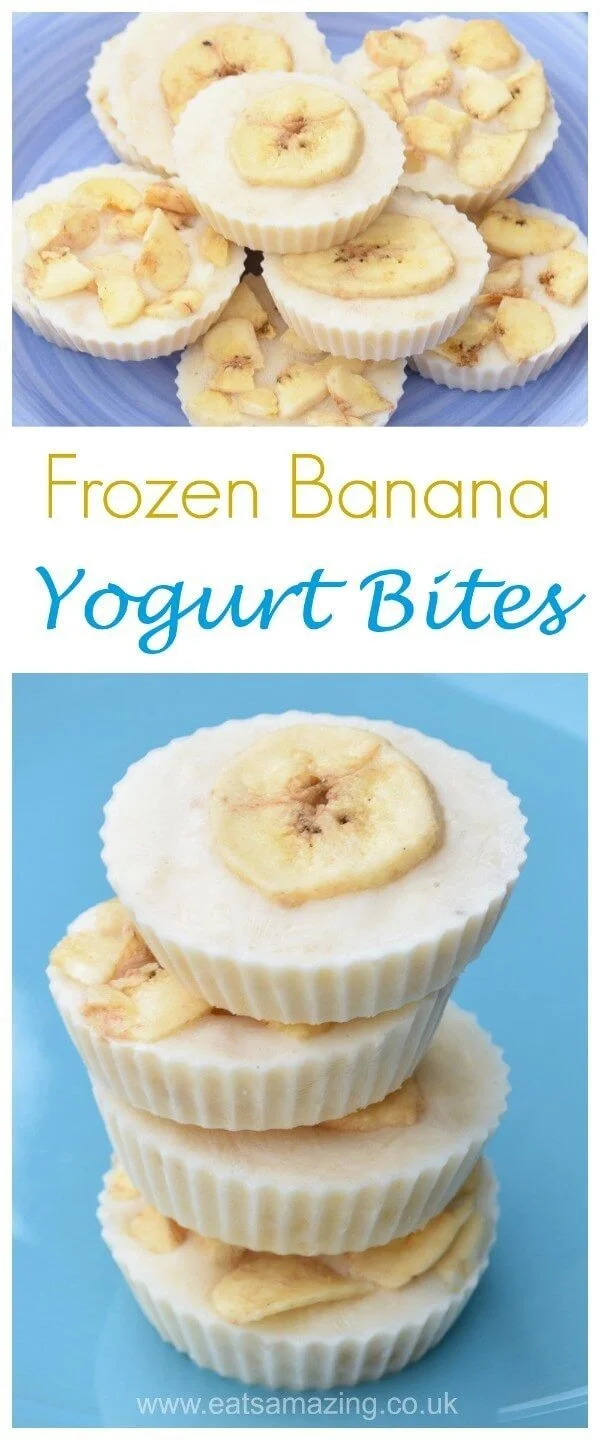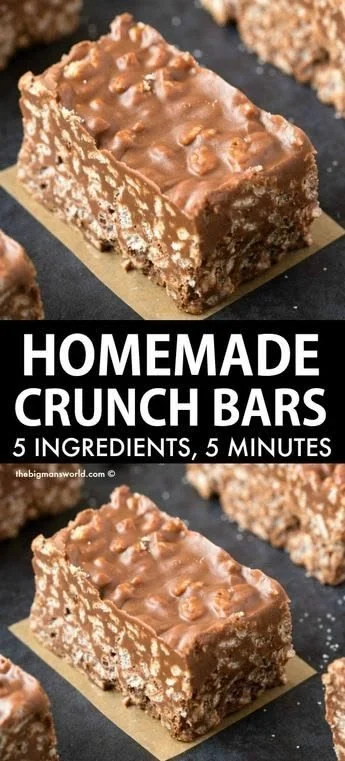
Making homemade granola bars is both fun and rewarding, and this Crunch Bars recipe is sure to become a staple in your kitchen. These bars are not only simple to make, but they provide a satisfying crunch that’s perfect for snacking or a quick breakfast on the go. Packed with wholesome ingredients, they are customizable to suit your taste, making each batch uniquely yours.
Why You’ll Love Crunch Bars
- Easy to Make: With just a few simple steps, you can whip up a batch in no time. Perfect for beginner cooks!
- Customizable: Feel free to get creative with your mix-ins, whether it’s nuts, seeds, or dried fruits; you can adjust flavors to your liking.
- Wholesome Snacking: Made with natural ingredients, these bars are a better alternative to store-bought snacks, providing both nutrition and flavor.
- Budget-Friendly: With readily available ingredients, this recipe is easy on the wallet while delivering great taste and nutrition.
- Perfect for Meal Prep: These bars can be made ahead and stored for a week, offering a quick and healthy snack whenever you need one.
Recipe Overview
- Prep Time: 10 minutes
- Cook Time: 25 minutes
- Total Time: 35 minutes
- Servings: About 12 bars
- Difficulty Level: Easy
Ingredients You’ll Need for Crunch Bars
- Old-fashioned oats: The foundation of the crunch bars; they add a satisfying chewiness.
- Honey or maple syrup: Acts as a natural sweetener while binding the bars together. Maple syrup is an excellent vegan substitute.
- Nut butter: Almond, peanut, or cashew butter will add richness and flavor.
- Mixed nuts: Choose your favorites like almonds, walnuts, or pecans for crunch and added protein.
- Chocolate chips: Semi-sweet or dark chocolate add indulgent sweetness. You can omit these for a healthier option.
- Seeds (optional): Pumpkin, sunflower, or chia seeds can be mixed in for extra nutrition and crunch.
- Dried fruit (optional): Raisins, cranberries, or apricots enhance the flavor and provide natural sweetness.
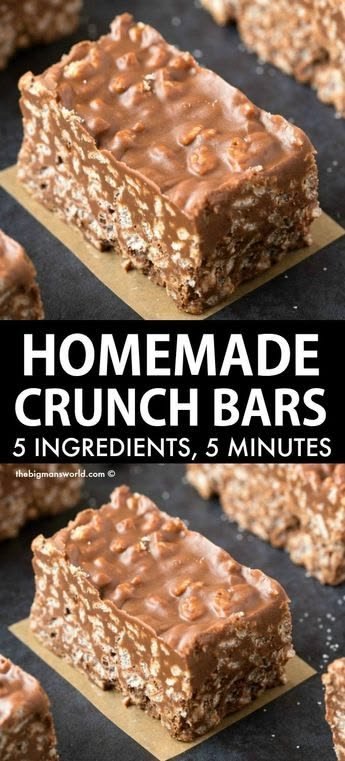
How to Make Crunch Bars
-
Preheat Your Oven: Set your oven to 350°F (175°C). This ensures your bars are baked evenly.
-
Mix Dry Ingredients: In a large bowl, combine oats, chopped nuts, and seeds. Stir until evenly distributed.
-
Combine Wet Ingredients: In a separate bowl, stir together the nut butter and honey (or maple syrup) until smooth. You can microwave the mixture for 15-20 seconds if it’s hard to mix.
-
Combine Mixtures: Pour the wet mixture over the dry ingredients, mixing well to ensure everything is fully coated.
-
Fold in Chocolate and Dried Fruit: Gently fold in chocolate chips and dried fruit, if using, making sure not to break the chocolate pieces.
-
Prepare the Baking Dish: Line an 8×8 inch baking dish with parchment paper, leaving some overhang. This will make removing the bars easier.
-
Spread the Mixture: Transfer the mixture into the prepared baking dish, pressing down firmly until it is evenly spread and compact.
-
Bake: Place in the oven and bake for 20-25 minutes, or until golden brown around the edges.
-
Cool and Cut: Allow the bars to cool in the pan for about 10 minutes, then lift them out using the parchment overhang. Cut into bars or squares.
-
Enjoy: Your homemade Crunch Bars are ready to be enjoyed as a snack or breakfast treat!
Tips for Success
- Press Firmly: Make sure to press the mixture down very firmly in the pan to help the bars hold their shape once cooled.
- Monitor Baking: Keep an eye on the edges while baking; if they brown too quickly, you may need to cover them with aluminum foil.
- Customize Flavor: If you prefer a spicier flavor, consider adding a pinch of cinnamon or a splash of vanilla extract to the wet mixture.
- Allow to Cool Completely: Let the bars cool fully before cutting to ensure they don’t crumble apart.
Easy Variations
- Nut-Free Version: Substitute nut butter with sunflower seed butter and use toasted seeds instead of nuts.
- Coconut Crunch: Add unsweetened shredded coconut for a tropical twist.
- Protein Boost: Mix in some protein powder for an extra nutritional kick.
- Fruit-Forward: Add more dried fruits or fresh fruits like banana slices or berries for a fruity flavor.
What to Serve with Homemade Crunch Bars
- Yogurt: Serve with Greek yogurt for a satisfying breakfast or snack, with added protein and probiotics.
- Fresh Fruits: Pair with banana slices or apple slices to enhance the sweet flavors.
- Smoothie: A berry or green smoothie complements the crunch bars while providing additional nutrients.
- Nut Milk: Enjoy with a glass of almond or oat milk for a balanced snack.
Storage and Reheating
- Refrigerator Storage: Store in an airtight container in the fridge for up to a week.
- Freezer Storage: They freeze well for up to 3 months. Wrap each bar in foil or plastic wrap and then place them in a ziplock bag.
- Reheating: You can enjoy them cold or warm them slightly in the microwave for 10-15 seconds to soften the chocolate.
Common Mistakes to Avoid
- Not Packing the Mixture Enough: Failing to press the mixture down tightly can result in crumbly bars.
- Overbaking: Keep an eye on them to prevent burning. They should be lightly golden.
- Skipping the Parchment Paper: Using a greased pan instead of parchment can make it difficult to remove the bars without breaking them.
Crunch Bars: Background & Cultural Inspiration
Crunch bars draw inspiration from various traditional snack bars around the world that focus on wholesome ingredients and satisfying textures. They reflect the trend towards healthier, homemade alternatives, allowing for personalization based on dietary preferences. Whether inspired by granola bars from the U.S. or rice cake variations from Asia, Crunch Bars encapsulate delicious, convenient snacking that’s versatile enough to satisfy any craving.
Frequently Asked Questions
Can I make these bars vegan?
Yes! To make them vegan, use maple syrup instead of honey and choose a plant-based nut butter.
How can I change the sweetness?
You can reduce the honey or maple syrup to suit your taste or replace it with a lower-calorie sweetener if desired.
How long do these bars last?
Stored properly, they can last up to a week in the refrigerator or up to three months in the freezer.
Can I add protein powder?
Absolutely! Just be mindful of the texture and consider reducing the amount of oats slightly to compensate.
What if I don’t have a baking dish?
You can use a rimmed baking sheet lined with parchment paper, keeping the mixture at about half an inch thick.
Final Thoughts
This Crunch Bars recipe is not just about satisfying your sweet tooth; it’s about creating something wholesome and delicious with your own hands. With endless possibilities for customization, these bars can suit any taste and dietary preference. They are practical for meal prep and make perfect snacks for busy days. Give this recipe a try, and you’ll discover how easy and rewarding it is to create your own crunchy delights!
PrintCrunch Bars

Homemade granola bars that provide a satisfying crunch, perfect for snacking or a quick breakfast on the go.
- Prep Time: 10 minutes
- Cook Time: 25 minutes
- Total Time: 35 minutes
- Yield: 12 bars
- Category: Snacks
- Method: Baking
- Cuisine: American
- Diet: Vegetarian
Ingredients
- 2 cups old-fashioned oats
- ½ cup honey or maple syrup
- ½ cup nut butter (almond, peanut, or cashew)
- 1 cup mixed nuts (almonds, walnuts, or pecans)
- ½ cup chocolate chips (semi-sweet or dark)
- ½ cup seeds (optional: pumpkin, sunflower, or chia)
- 1 cup dried fruit (optional: raisins, cranberries, or apricots)
Instructions
- Preheat your oven to 350°F (175°C).
- Mix dry ingredients: In a large bowl, combine oats, chopped nuts, and seeds.
- Combine wet ingredients: In a separate bowl, stir together nut butter and honey (or maple syrup) until smooth.
- Combine mixtures: Pour the wet mixture over the dry ingredients, mixing well.
- Fold in chocolate and dried fruit, if using.
- Prepare the baking dish: Line an 8×8 inch dish with parchment paper.
- Spread the mixture into the prepared dish, pressing down firmly.
- Bake for 20-25 minutes until golden brown.
- Cool for 10 minutes, then cut into bars or squares.
Notes
Press the mixture down firmly to help the bars hold their shape. Store in an airtight container in the fridge for up to a week.